Training Management
PLAN SCHEDULE / UN-SCHEDULE TRAINING
- Login as Initiator and go to Training Management | Training Planner screen.
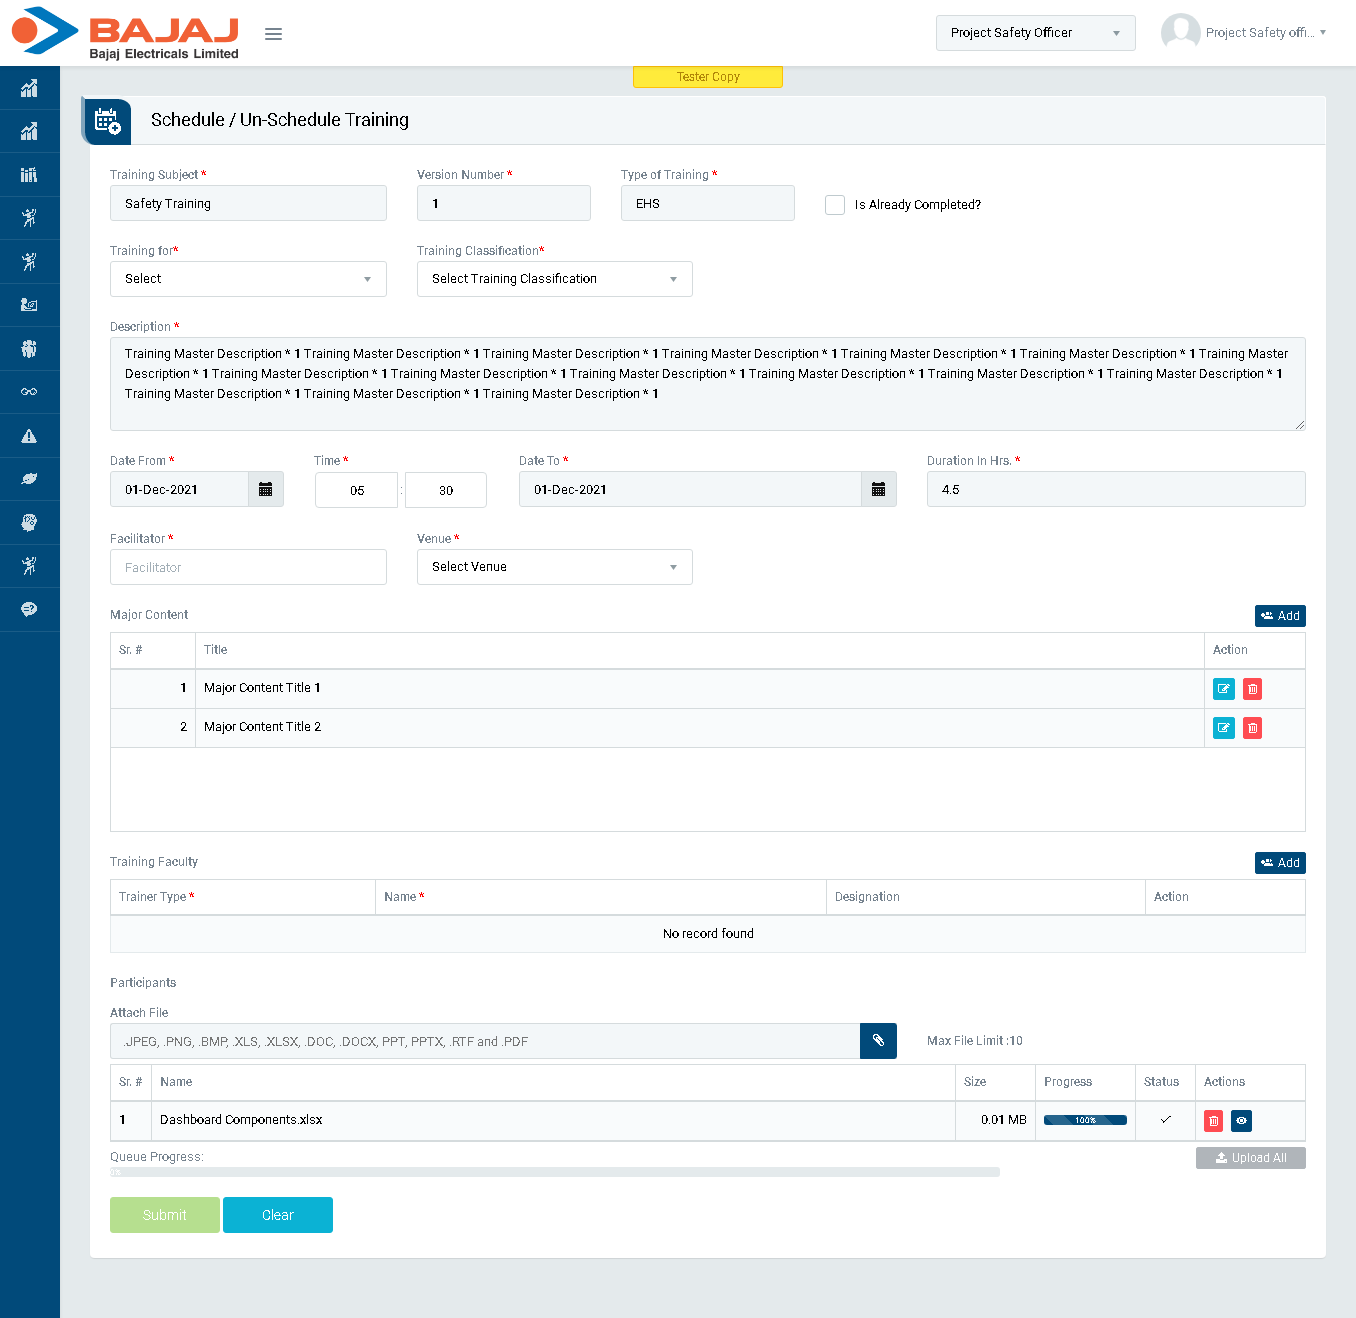
- Click on Action Pending button shown in Image 6B above. Redirect and open Schedule / Un-Schedule screen in new Tab. (Image 6C)

Image 6C
- Schedule / Un-Schedule screen will be auto filled with some basic details related to training from Training Master.
- Fill Training For, Training Classification, Facilitator and Venue.
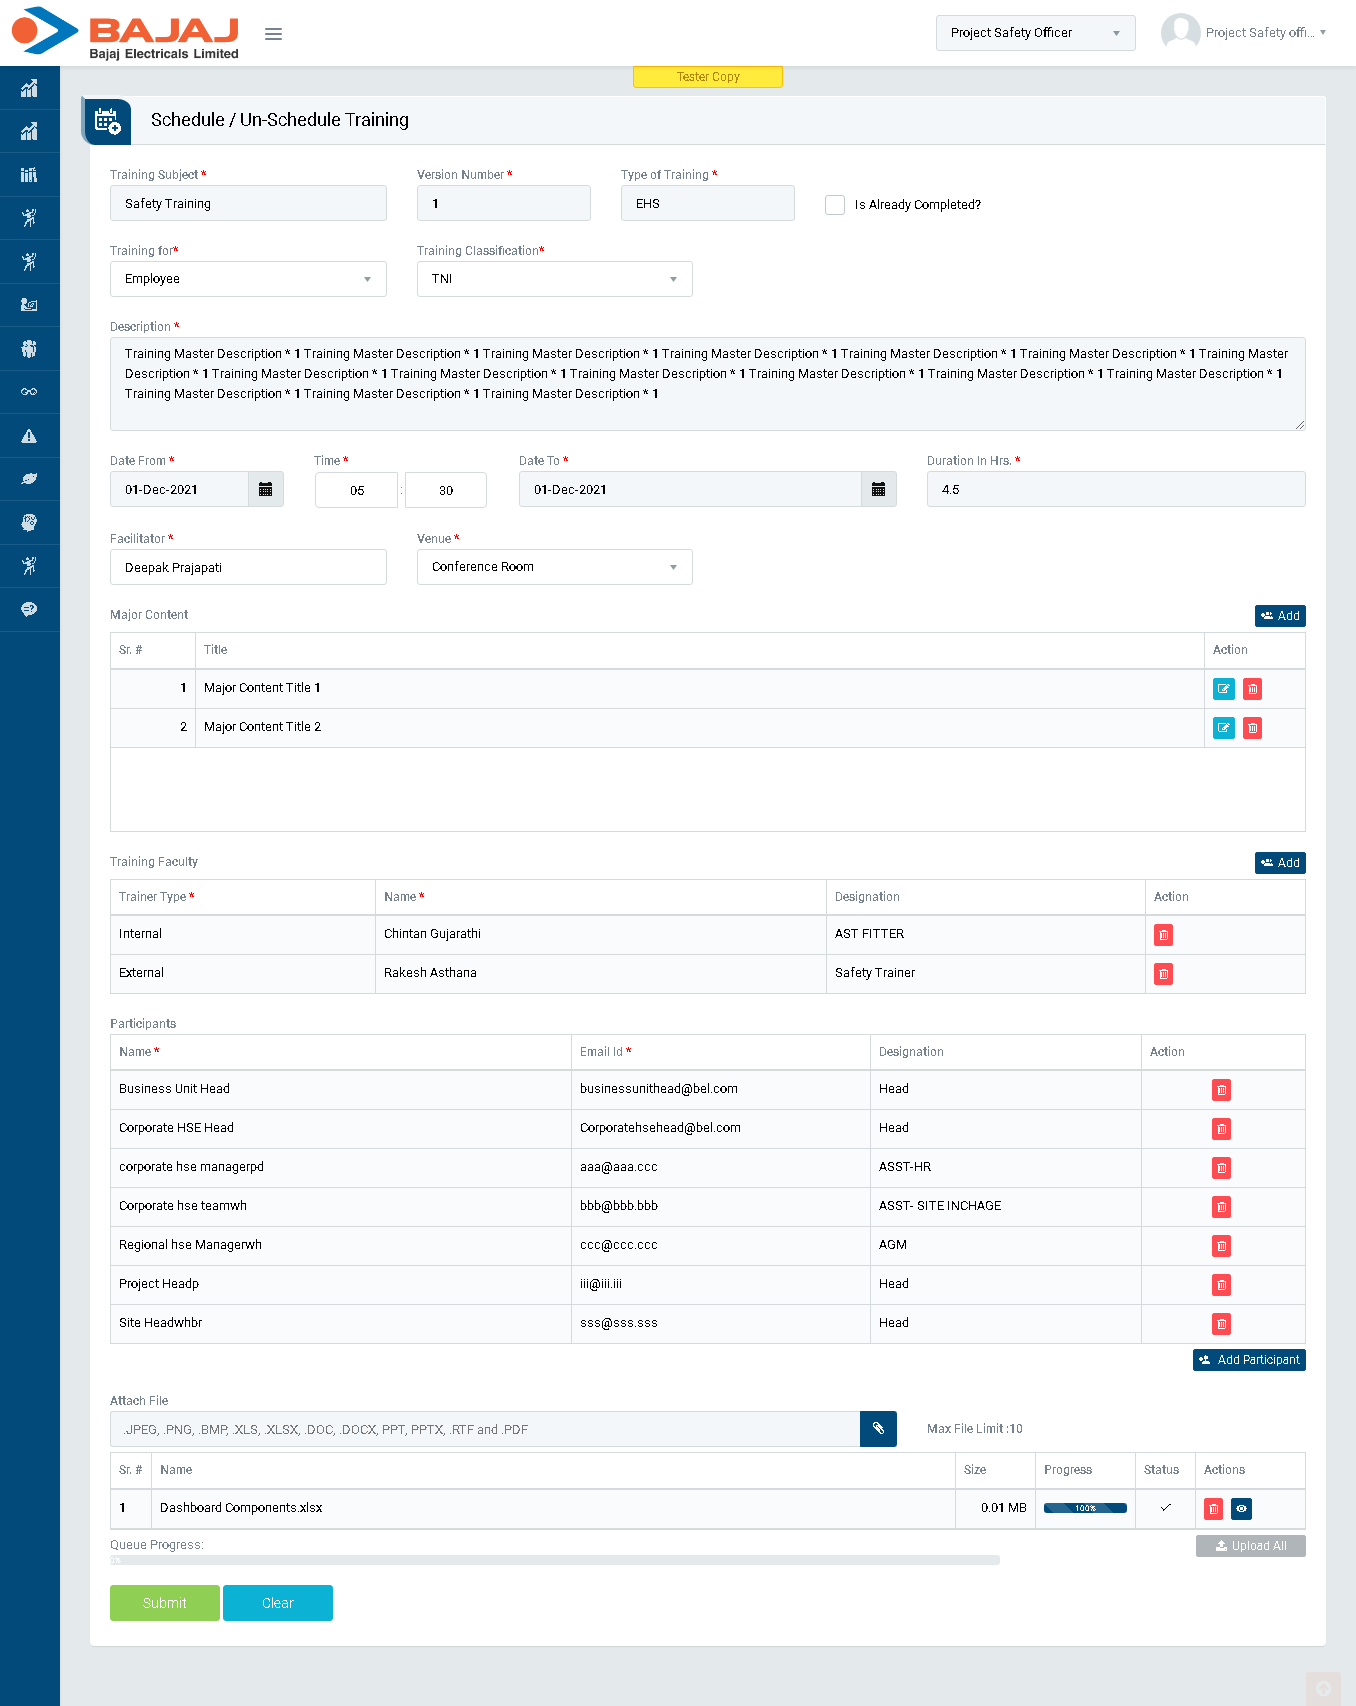
- Click on Add Button to add Training Faculty details.
- Click on Add Participant Button to add Training Participants details. A pop-up will be opened for easing Participant selection.
- Click on Submit Button to save Facilitator, Trainer and Participant details. (Image 6D)

Image 6D
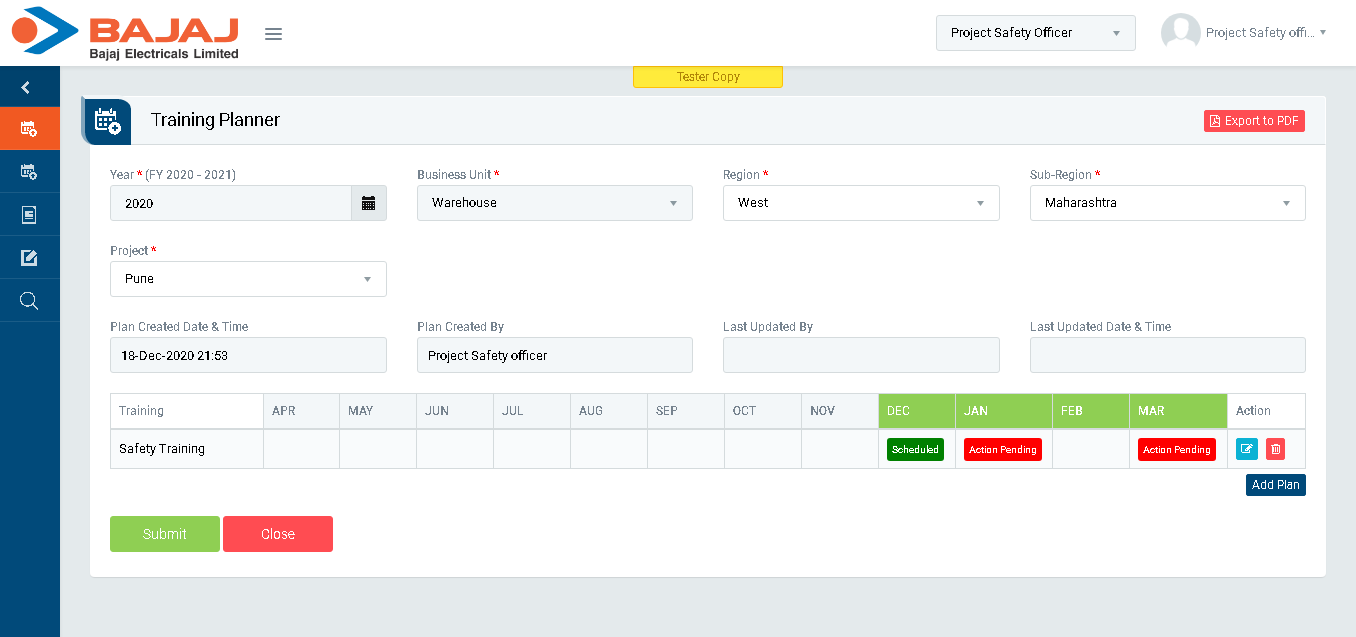
- Selected month column will be changed from “Action Pending” to “Scheduled” button now. (Image 6E)

Image 6E
Note :
- This will be seen to Trainer, Facilitator, Initiator and participants in My Training in Read only.
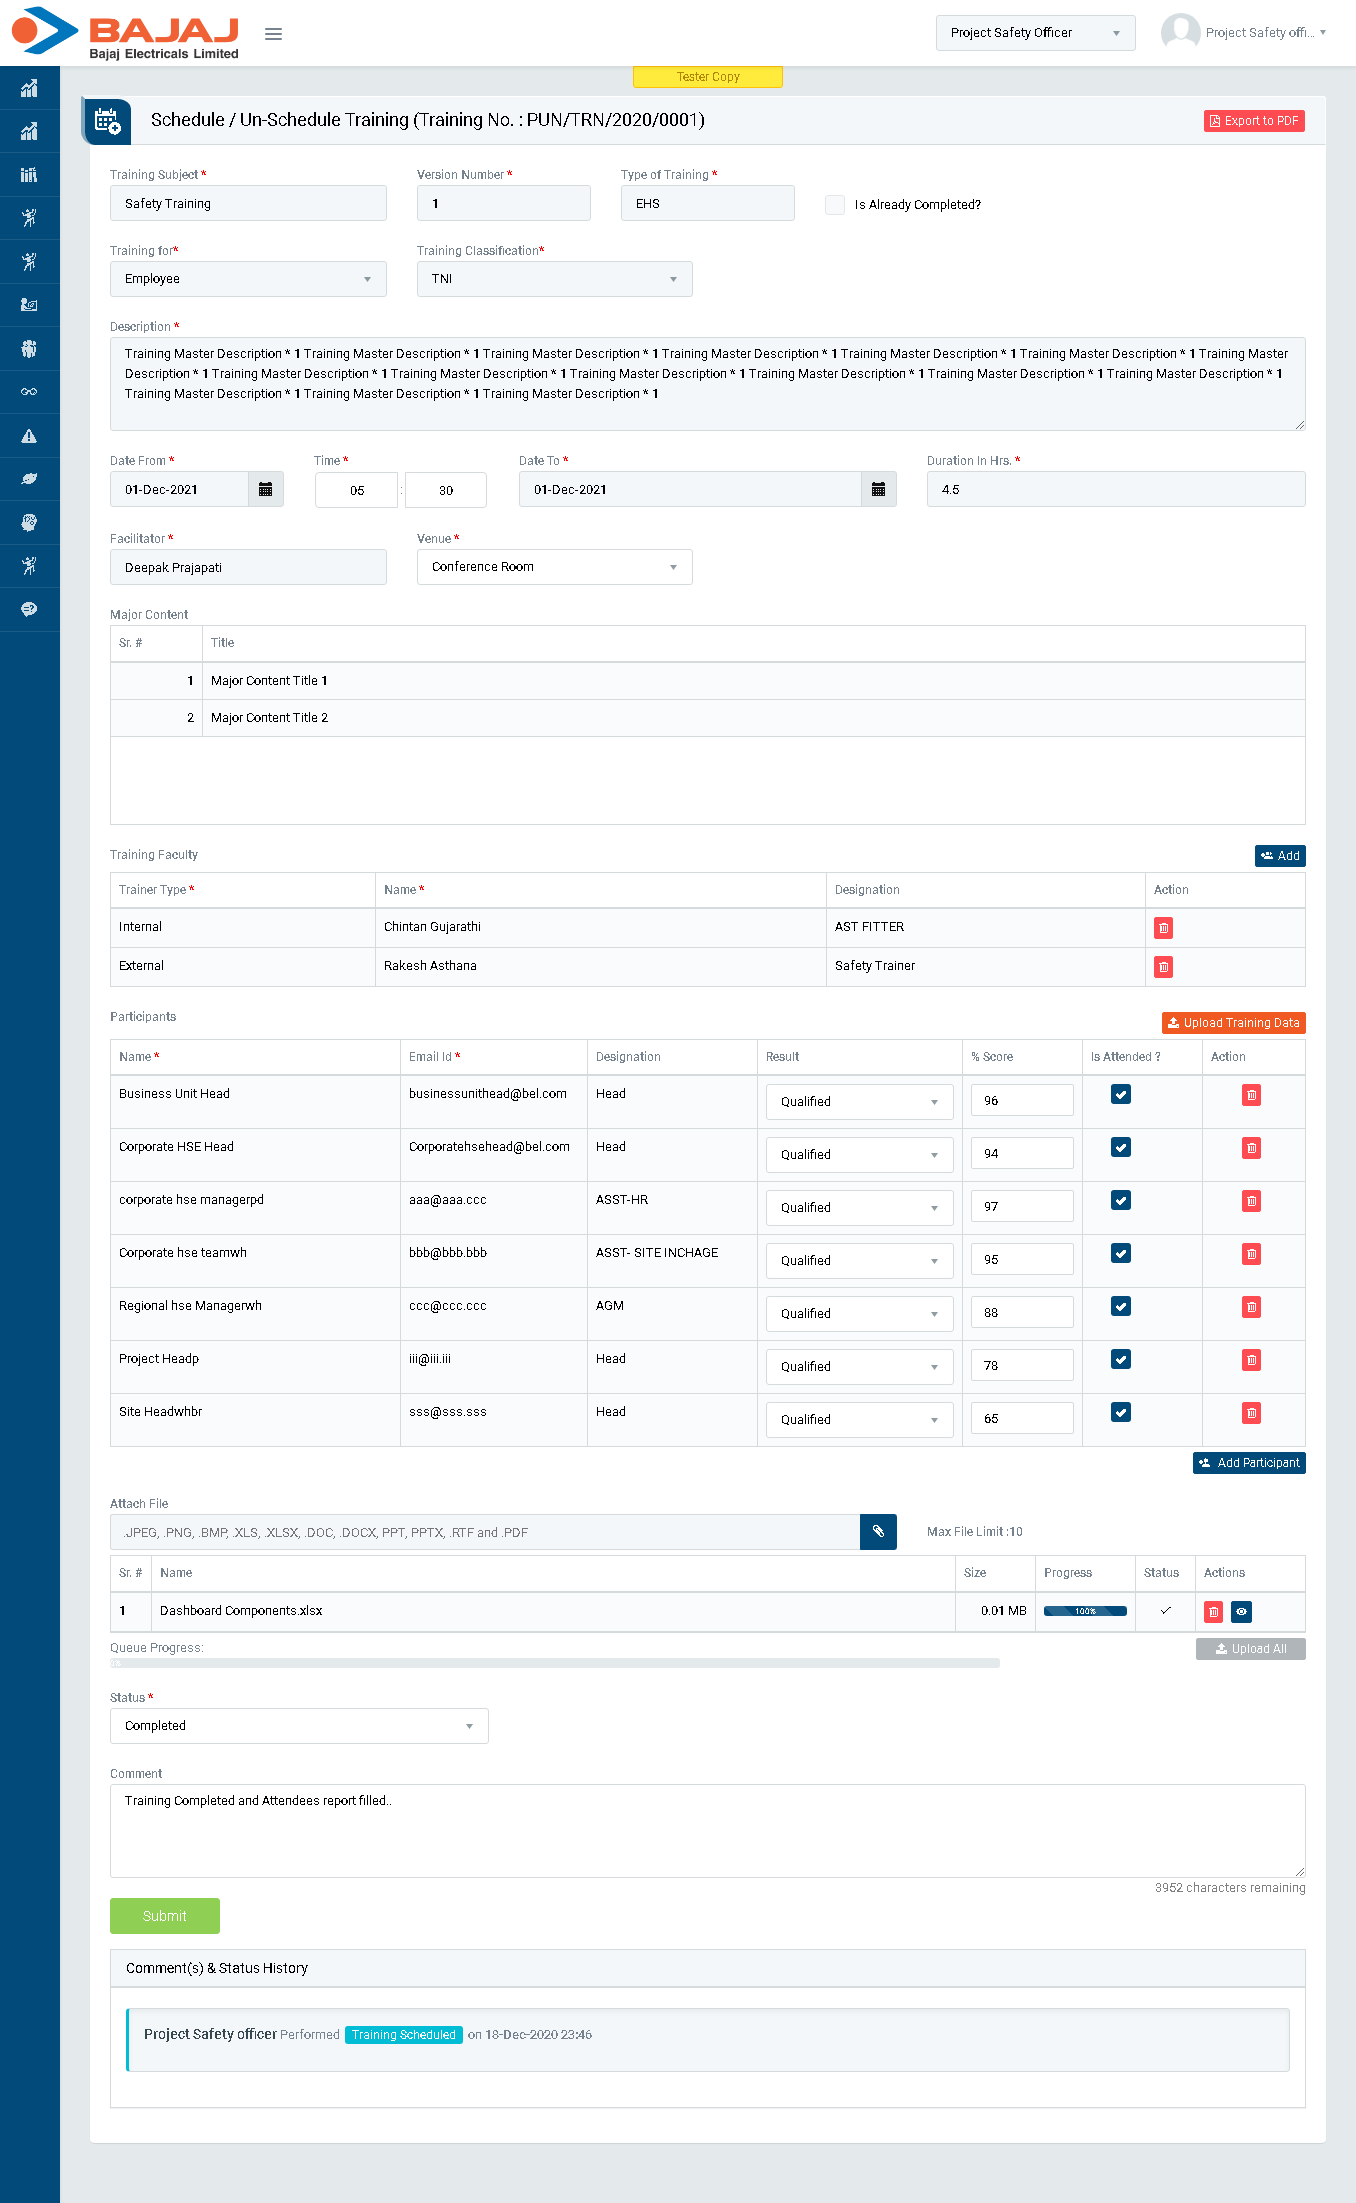
- Click on Scheduled button shown in Image 6E above. Redirect and open Schedule / Un-Schedule screen in new Tab. (Image 6F)

Image 6F
- Enter details like Result, % Score and Is Attended?.
- To take action against a particular training select Status from drop down list as below.
- Completed : Select the completed status and click submit button to make training status as completed and to complete a training session.
- Pre-Postponed : To postpone a training session. In this case user must select “Date From” and “Date To”. In this case comment is mandatory to enter.
- Cancelled : To cancel a training. In this case comment is mandatory to enter.
Note :
- The fields marked with * are mandatory to be filled.
- Comment is mandatory to enter in-case of pre-postpone and cancel meeting.